Tuesday, October 28, 2014

Carolers and dogs...


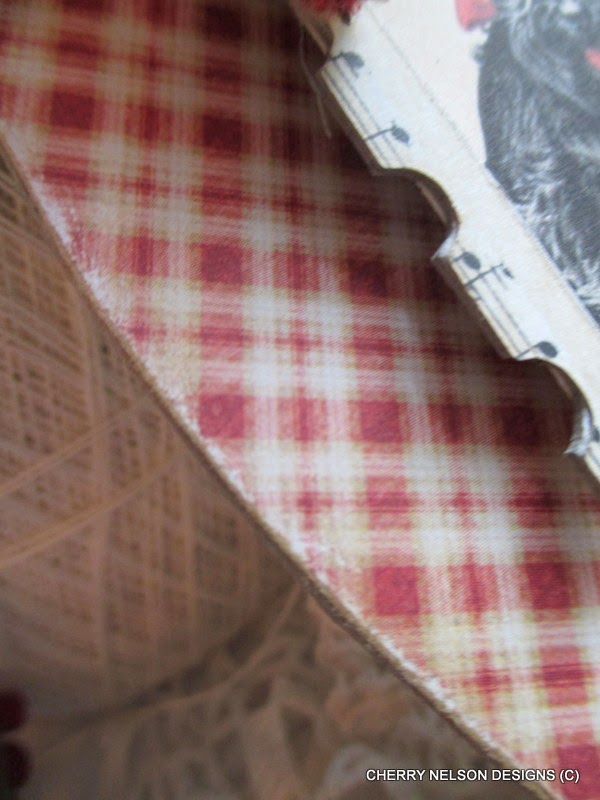
                      Unlikely pairing....but it is what I have to share today!   Been working away at the Christmas crafts....whistling while I work.  Done with Halloween and knee deep in the wonders of the Holidays.  My heart always gravitates towards the old and nostalgic.....these old doggy images I just never tire of.   I paired this one with a mitten that I found the template for on Pininterest and hand cut it out....no die for this one.   Along with Graphic 45 papers and some vintage toppings!   Having fun making my own little candy canes and hand glittering them for a bit of sparkle.  
                            My other ornament uses a vintage caroler .....I had a few of these and she is the last one!   I paired her with sheet music paper...and a few sweet touches like the church bell and the star..and of course a lot of tinsel.  My ribbons of course come from RRR!   So happy to share that I made the team for another term!   Best design team I have ever been on!   Thanks for coming by!   
                                                                                                             Hugs, cherry
Thursday, October 23, 2014

Junk bow tutorial...


                                                    Hello there...today is my turn over at RRR.   I have been obsessed lately with junk bows.  Have you seen them?  Do a search for them and they are all over!  Such a wonderful way to use up those little snippets of ribbons you have laying around.  We all know as ribbon lovers it is so hard to throw any snippets away!  Some people use every kinda texture imaginable when making these fun bows.....paper, fabric scrap, tinsel, and of course ribbon.   As you can see in the first photo....I stayed pretty simple.  I gathered up my ribbons - including 1.5 inch red gingham, natural burlap with wire edge, mini pom pom in red, betsy white crochet lace, and tulle.   I like to use at least one wired ribbon because it helps add stability to the bow.  After you pick your ribbons snip the ends to give a decorative edge.  From there you simply gather them all up and using your finger pinch the middle to flair the ends out.  Using your tulle wrap it around the middle and tie really tight.....that will help really poof up your bow. 
                                                         As you can see I decided to use my first junk bow on a retro Christmas card...which I gave a few step x steps on as well. I added some red seam binding and greenery to my junk bow.  I was having so much fun I ended up making two bows....I used the other on the cute polka dot bag.  These type of bows really lend themselves well to shabby or kitschy looking creations I think.  I love them....and plan on making more.  That is it for me!  Hope you enjoy!  hugs, cherry

Monday, October 20, 2014

Joy, Joy, Joy!


             Salutations and happy Monday!   Popping in between a little laundry and house cleaning.  I have been having fun again creating some altered pieces.  While making them I wondered why  Christmas just couldn't be every month.  While I know that just isn't realistic .....I sure do love creating for it.  For some reason ...maybe because they are uber cute.....I have a soft spot for terriers.  These images just speak to me.  We had a fox terrier when I was a little girl.  Thumper was such a character!  I think these little terriers look a bit like "characters" as well.    I used a vintage spool as my base for one and the other a mini Christmas present.  As always I used heaps of layers and dimension using foam adhesive .   A bit of tinsel was in need as well....along with some bits and baubles from my Christmas from years past stash!   I also used red mini pom pom and red seam binding.   Love the nostalgic feeling and the glorious red!   Hope you enjoy....hugs, cherry

Wednesday, October 15, 2014

Heartfelt Creations and RRR blog hop and Anythinng goes challenge!


Hello to you!   So Excited today because RRR is joining up with Heartfelt Creations for a fun blog hop and an "Anything goes" challenge!   Are you ready for all the fun projects we have lined up for you?   You should have hopped over from Teresa's blog.  I chose to work with the Sweet lullaby sentiments stamp set.   Very sweet and works perfectly with my circles dies.  I used some Pebbles paper and adorable image from Crafty Secrets to go along with my baby theme.  For my ribbon I used baby pink seam binding and 5/8 pink crochet lace. I topped my seam binding off with some gorgeous pink berry sprays.   Well that is it for me.....next stop is Jen's blog .    Have fun folks!  cherry


Monday, October 13, 2014

really reasonable ribbon blog hop


Hello RRR peeps!  Time for another fun and festive blog hop.  It's that time to showcase the new ribbons in this month's selections.  Wood land and rustic....full of Christmas traditions!  That is what this month's ribbons remind me of.  Now You should have found your way here from Teresa's blog .  If you get lost at anytime, just start right back at the RRR blog.  I created a couple of cute wood land snow owl tags and a cute little scotty Christmas house ornament.  I used the gorgeous Christmas plaid , red seam binding,   2 1/2 inch holiday snowflake ribbon, and  mini red pom pom  .    I topped both my projects off with berry spray clusters.  Which I am so in love with.  Hope you enjoy!  Next stop along the way is Jen's blog.  Have fun and be inspired!  cherry

Sunday, October 12, 2014

Halloween boo basket....


Happppppppy day to you!   I am back to share a boo basket I did up and stuffed chalk full with Hershey kisses and handmade treats.  Boy did I have fun with this!  I started with a diecut from PTI to make my basket out of chipboard for sturdiness and than diecut it again for pattern papers.  I assembled my basket and had fun adding paper fringes and a pumpkin ribbon around the bottom half.  I added a fun spider web, Halloween banner sentiment, and glittery spider to the front along with satin swirl ribbon and Halloween bakers twine.   Inside I nestled homemade cupcake toppers, tags to tie to candy bags looped up with more bakers twine and satin swiss dots.   Tags need bags so I decked out some Halloween bags with black and rust seam binding.   From here I filled it up with hershey kisses and it was ready.  Wouldn't this be cute to leave on someone's door step....Knock and hide and wait for their delight!   Enjoy my friends!  Cherry